gitlab服务器搭建(Centos7系统)
参考网址:https://about.gitlab.com/install/#centos-7
快速安装gitlab
1.安装相关依赖包:
基础依赖:
sudo yum install -y curl policycoreutils-python openssh-server
sudo systemctl enable sshd
sudo systemctl start sshd
sudo firewall-cmd --permanent --add-service=http
sudo systemctl reload firewalld
发送邮件依赖:
sudo yum install postfix
sudo systemctl enable postfix
sudo systemctl start postfix
2.添加gitlab仓库uri并安装:
添加安装包地址:
安装包地址:https://packages.gitlab.com/gitlab/gitlab-ce
curl -s https://packages.gitlab.com/install/repositories/gitlab/gitlab-ce/script.rpm.sh | sudo bash
安装:
sudo EXTERNAL_URL="http://gitlab.ymu.com" yum install -y gitlab-ce
安装包rpm方式:
1.和上面一样,安装依赖包。
2.下载安装包:
说明:1
2
3
4EL是Red Hat Enterprise Linux的简写
- EL6软件包用于在Red Hat 6.x, CentOS 6.x, and CloudLinux 6.x进行安装
- EL5软件包用于在Red Hat 5.x, CentOS 5.x, CloudLinux 5.x的安装
- EL7 软件包用于在Red Hat 7.x, CentOS 7.x, and CloudLinux 7.x的安装
2.执行安装命令:
[root@xr-server vagrant]# rpm -ivh gitlab-ce-11.3.12-ce.0.el7.x86_64.rpm
warning: gitlab-ce-11.3.12-ce.0.el7.x86_64.rpm: Header V4 RSA/SHA1 Signature, key ID f27eab47: NOKEY
Preparing...                          ################################# [100%]
Updating / installing...
   1:gitlab-ce-11.3.12-ce.0.el7       ################################# [100%]
It looks like GitLab has not been configured yet; skipping the upgrade script.

       *.                  *.
      ***                 ***
     *****               *****
    .******             *******
    ********            ********
   ,,,,,,,,,***********,,,,,,,,,
  ,,,,,,,,,,,*********,,,,,,,,,,,
  .,,,,,,,,,,,*******,,,,,,,,,,,,
      ,,,,,,,,,*****,,,,,,,,,.
         ,,,,,,,****,,,,,,
            .,,,***,,,,
                ,*,.


     _______ __  __          __
    / ____(_) /_/ /   ____ _/ /_
   / / __/ / __/ /   / __ `/ __ \
  / /_/ / / /_/ /___/ /_/ / /_/ /
  \____/_/\__/_____/\__,_/_.___/


Thank you for installing GitLab!
GitLab was unable to detect a valid hostname for your instance.
Please configure a URL for your GitLab instance by setting `external_url`
configuration in /etc/gitlab/gitlab.rb file.
Then, you can start your GitLab instance by running the following command:
  sudo gitlab-ctl reconfigure

For a comprehensive list of configuration options please see the Omnibus GitLab readme
https://gitlab.com/gitlab-org/omnibus-gitlab/blob/master/README.md
3.修改Gitlab访问URL配置:
可以使用自定义域名,也可以直接IP地址+端口访问。
编辑文件:
[root@xr-server ~]# cd /etc/gitlab/
[root@xr-server gitlab]# ls
gitlab.rb
[root@xr-server gitlab]# vim gitlab.rb
修改:
#external_url 'http://gitlab.example.com'
external_url 'http://192.168.10.31:8080'
这样就以ip+端口方式访问。
4.重置并启动Gitlab
sudo gitlab-ctl reconfigure
sudo gitlab-ctl start
5.停止
sudo gitlab-ctl stop
6.重启
sudo gitlab-ctl restart
docker环境安装gitlab
参考:https://docs.gitlab.com/omnibus/docker/
启动gitlab容器服务
1.查看系统是否开启了SELinux
/usr/sbin/sestatus -v ##如果SELinux status参数为enabled即为开启状态
2.启动gitlab ce容器
如果SELinux是开启的,则执行:
sudo docker run --detach \
    --hostname gitlab.example.com \
    --publish 443:443 --publish 80:80 --publish 10022:22 \
    --name gitlab \
    --restart always \
    --volume /srv/gitlab/config:/etc/gitlab:Z \
    --volume /srv/gitlab/logs:/var/log/gitlab:Z \
    --volume /srv/gitlab/data:/var/opt/gitlab:Z \
    gitlab/gitlab-ce:latest
这样才能确保容器进程拥有足够权限,在卷上创建相关的配置文件。
如果SELinux是关闭的,则执行:
sudo docker run --detach \
    --hostname gitlab.example.com \
    --publish 443:443 --publish 80:80 --publish 10022:22 \
    --name gitlab \
    --restart always \
    --volume /srv/gitlab/config:/etc/gitlab \
    --volume /srv/gitlab/logs:/var/log/gitlab \
    --volume /srv/gitlab/data:/var/opt/gitlab \
    gitlab/gitlab-ce:latest
注意:
宿主机22端口一般会被占用,所以映射到别的端口,这里映射到10022端口,后面修改配置即可。
映射到宿主机任意端口:
sudo docker run --detach \
  --hostname gitlab.example.com \
  --publish 8929:80 --publish 2289:22 \
  --name gitlab \
  --restart always \
  --volume /srv/gitlab/config:/etc/gitlab \
  --volume /srv/gitlab/logs:/var/log/gitlab \
  --volume /srv/gitlab/data:/var/opt/gitlab \
  gitlab/gitlab-ce:latest
修改配置
容器成功执行后面,会在映射目录/srv/gitlab/config/目录下生成一个配置文件gitlab.rb。
编辑gitlab.rb文件
vim /srv/gitlab/config/gitlab.rb
1.设置external_url:
# 配置http协议所使用的访问地址
#external_url 'gitlab.example.com:端口'
external_url 'http://172.16.81.81:端口'

or

# For HTTPS (notice the https)
#external_url "https://gitlab.example.com:端口"
external_url 'https://172.16.81.81:端口'
2.设置gitlab_shell_ssh_port:
# 配置ssh协议所使用的访问地址和端口
#gitlab_rails['gitlab_ssh_host'] = 'gitlab.example.com'
gitlab_rails['gitlab_ssh_host'] = '172.16.81.81'
gitlab_rails['gitlab_shell_ssh_port'] = 2289
配置邮件发送
https://docs.gitlab.com/omnibus/settings/smtp.html
里面有各家邮件配置,包括腾讯qq企业邮箱的配置。
vim /opt/gitlab/config/gitlab.rb
# 这里以新浪的邮箱为例配置smtp服务器
gitlab_rails['smtp_enable'] = true
gitlab_rails['smtp_address'] = "smtp.xxx.com"
gitlab_rails['smtp_port'] = 25
gitlab_rails['smtp_user_name'] = "name4mail"
gitlab_rails['smtp_password'] = "passwd4mail"
gitlab_rails['smtp_domain'] = "xxx.com"
gitlab_rails['smtp_authentication'] = :login
gitlab_rails['smtp_enable_starttls_auto'] = true

# 还有个需要注意的地方是指定发送邮件所用的邮箱,这个要和上面配置的邮箱一致
gitlab_rails['gitlab_email_from'] = 'name4mail@xxx.com'

-----------------------------------------------------------------------------
腾讯qq企业邮箱

gitlab_rails['smtp_enable'] = true
gitlab_rails['smtp_address'] = "smtp.exmail.qq.com"
gitlab_rails['smtp_port'] = 465
gitlab_rails['smtp_user_name'] = "zhangmutian@xcsqjr.com"
gitlab_rails['smtp_password'] = "password"
gitlab_rails['smtp_authentication'] = "login"
gitlab_rails['smtp_enable_starttls_auto'] = true
gitlab_rails['smtp_tls'] = true
gitlab_rails['gitlab_email_from'] = 'zhangmutian@xcsqjr.com'
gitlab_rails['smtp_domain'] = "exmail.qq.com"
修改gitlab.rb配置文件之后,重启容器。
docker restart gitlab

# 进入容器
docker exec -it gitlab bash

# 重启gitlab
gitlab-ctl reconfigure
提醒:
上面三个步骤不可少,特别是要进入容器重启配置。如果只是重启容器,访问报502。
登录
浏览器打开:http://192.168.33.10/
初始页面要求先改密码,密码改为:a1234567
修改成功会跳转到登录页面,输入账号密码登录即可:
用户名:root 密码:a1234567
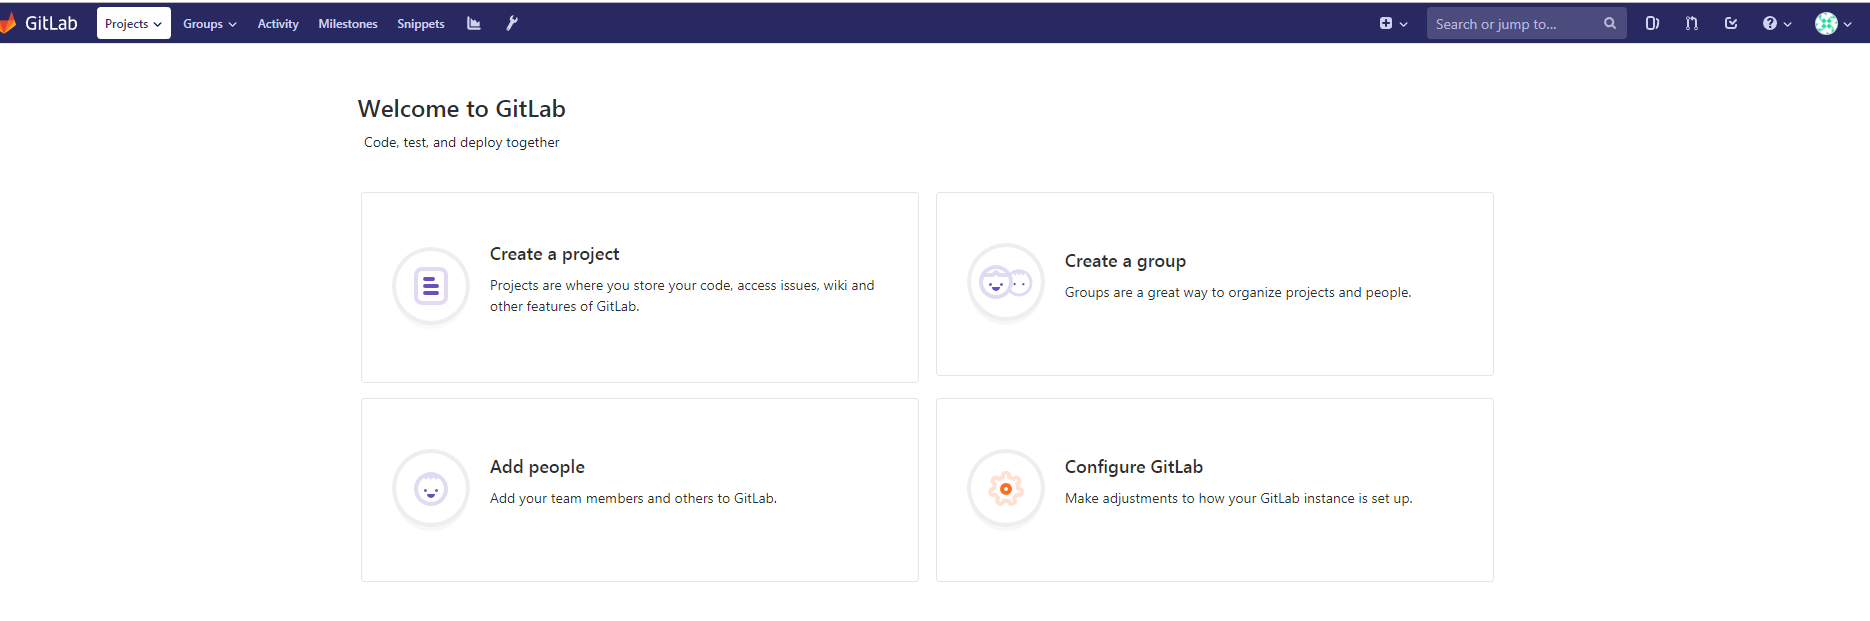
登录成功后看到:
设置系统语言
切换到官方镜像之后, 中文设置方法: 依次点击工具栏最右侧用户头像 》 Settings 》 Preferred language , 然后选择 简体中文 即可。
git参考访问地址
# HTTP
http://172.16.81.81/root/test-docker-gitlab.git
# SSH
ssh://git@172.16.81.81:10022/root/test-docker-gitlab.git